Keep the seam line separate from the cut edge
Use a simple measurement example to understand seam allowance without adding it twice.
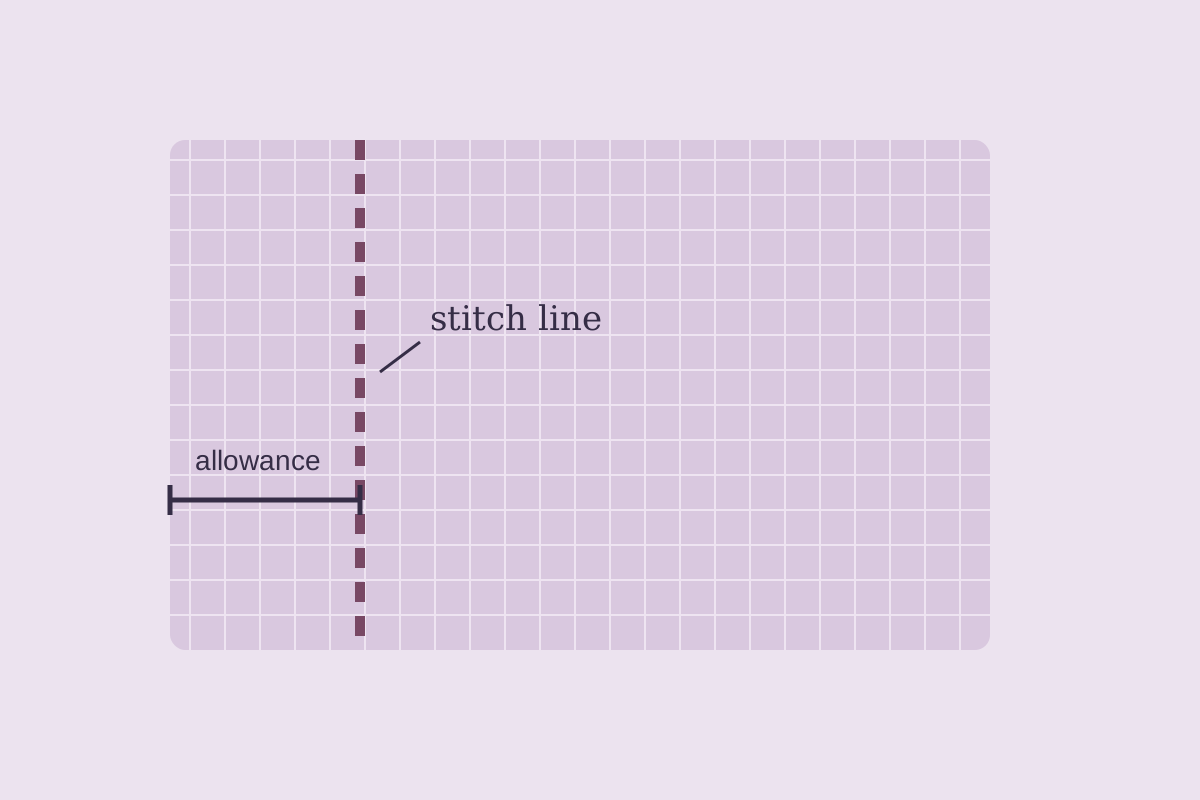
A rectangular sample needs to finish 20 cm wide, with a sewing line 1 cm inside each side edge. Its starting width is 22 cm: the finished span plus the two 1 cm margins. This is a flat sample calculation, not a rule for resizing a garment pattern.
Identify what the measurement means
The cut edge and the seam line occupy different places. The seam allowance is the fabric between them. Measure across that space, at right angles to the seam line, rather than along its length.
On a curved piece, the direction of that measurement changes as the line curves. Adding a fixed amount to the overall width of a complex shape does not create a reliable allowance all the way around it.
Use the pattern instructions
A pattern marked with an included allowance already has that margin in its cutting shape. Adding it again changes the piece. Read the individual pattern instructions and any exceptions for hems or particular seams before cutting.
For a practice rectangle, draw the intended sewing line as well as the cutting line. Label the gap between them. Keeping both visible makes it easier to see whether a measurement refers to the finished sample or the cloth you will cut.
Check the guide before sewing
A strip of scrap fabric can confirm the distance from your needle position to the machine’s seam guide. Sew a short test, then measure from the resulting stitches to the cut edge.
Check again if you move the needle position or change the presser foot. The useful reference is the actual stitch line. Keep the edge aligned with the chosen guide as the fabric feeds, rather than watching only the moving needle.